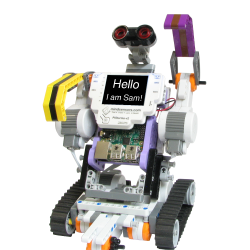

Vision for your PiStorms Robot using Pi Camera!
Parts you will need:
- PiStorms and its frame
- Pi Camera mounts
- Pi Camera with its cable
- Electric Tape (Scotch Tape is ok too).
- Screwdriver
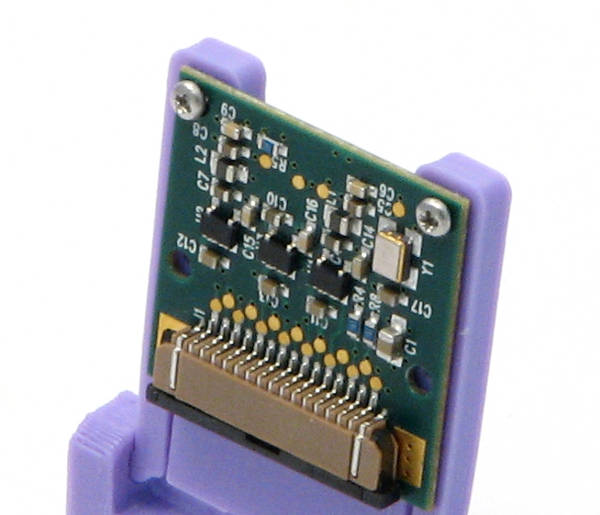
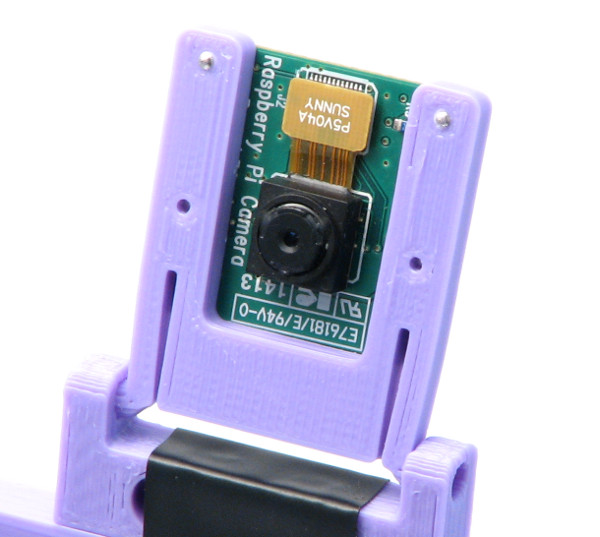
Attach your Pi Camera to the Camera Mount using supplied screws.
Use the top holes of the frame to attach the camera as in picture below.
Before you place the camera board, make pilot threads by just using the screw. (Tighten the screw fully and remove it).
While you tighten the actual camera board, cover the camera board circuit to prevent accidental damage from run-away screw driver.
There are several ways you can attach the mount base to your PiStorms Frame.
Simplest would be to wrap around electric tape (or scotch tape) tightly as in picture below.
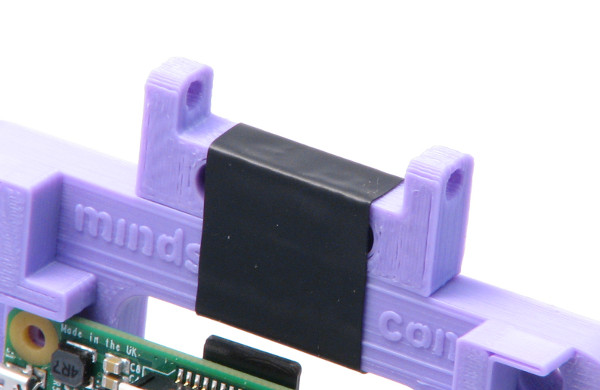
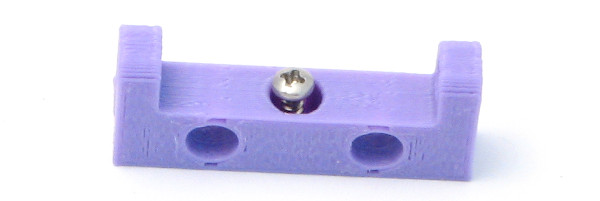
You could also use a screw to attach it to your PiStorms Frame, or glue it to the frame permanently using super-glue.
Now Attach the camera with it's mount to the base hinge.
Simply press the two tabs on both sides and insert in the base holes.
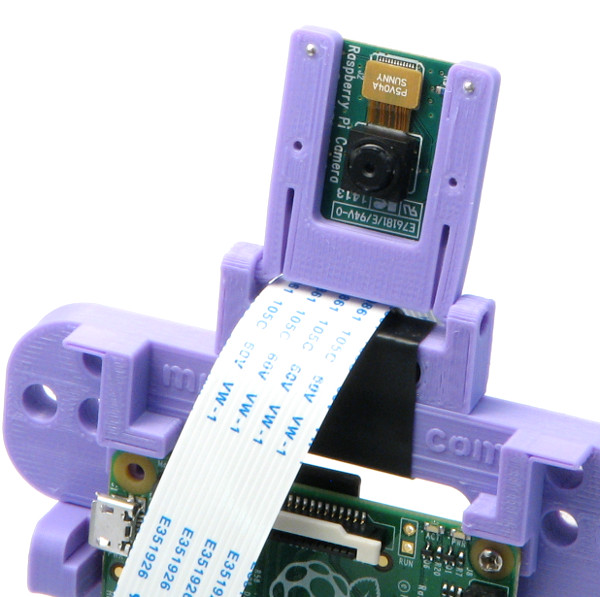
Now attach the ribbon cable between the camera and your Pi.
Attach the cable to the Pi Camera and bring it forward through the slit below the mount.
Now Connect your PiStorms and you are ready to use it!

